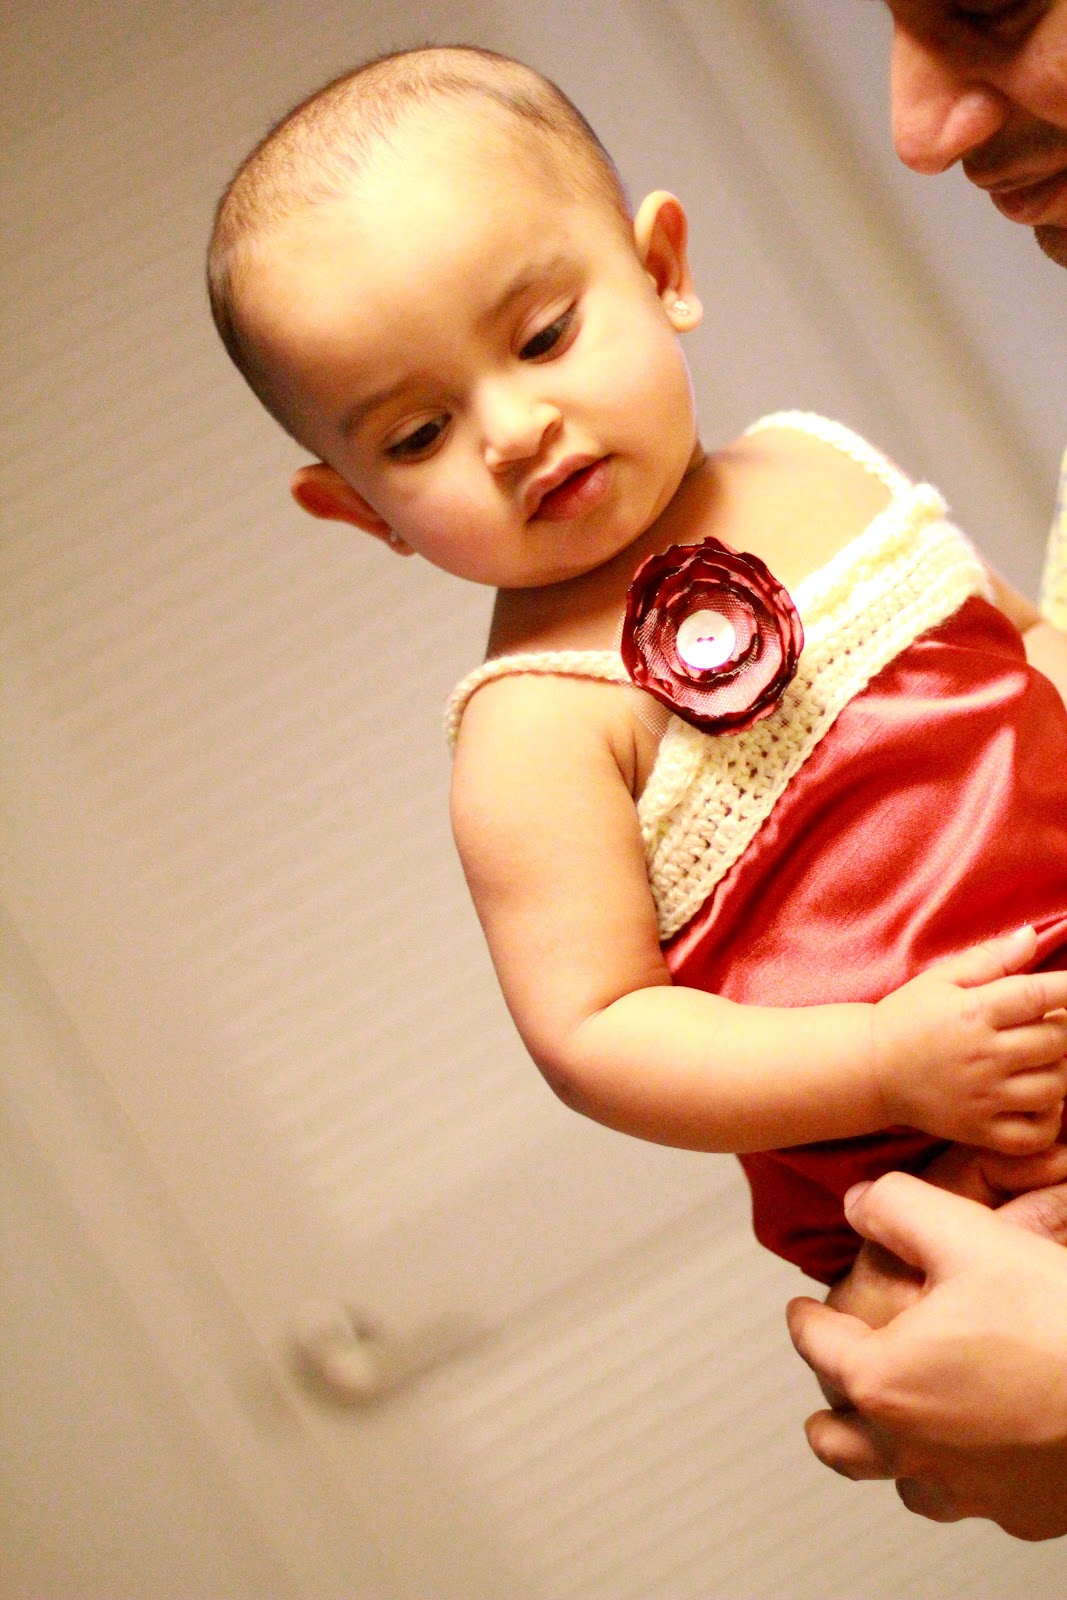
Looks like my little one is warm and cozy in her new suit :)
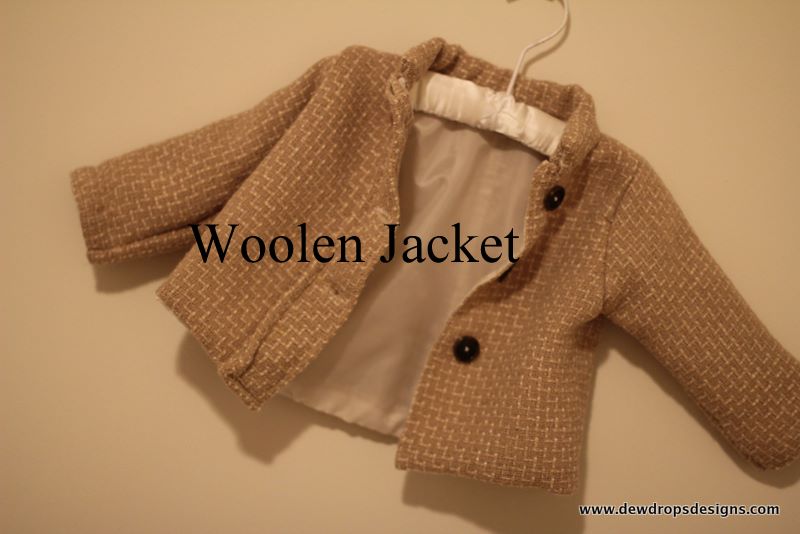
So are you all interested in sewing a Jacket with lining for this Winter. If so here I give you some tips with some pictures for simple Woolen Jacket. I have not included step by step tutorial for this. But I hope few tips and pictures here would give a good idea of how to make this. If you are novice to sewing It would be a bit difficult for you to grasp this just with the very little information I provide here. The one I made here is for 6months- 12months baby size. But If you follow the instructions and modify it you can just make it for any size of your choice.
Material Required:
Wool / Wool Blend Fabric : 3/4 " yd(58/60" wide)
polyester Lining : 1yd(45" wide)
Buttons: 3
For Front and Back piece:
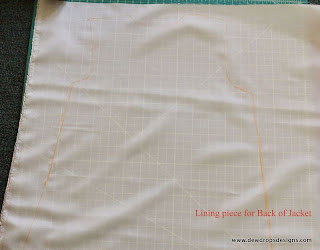
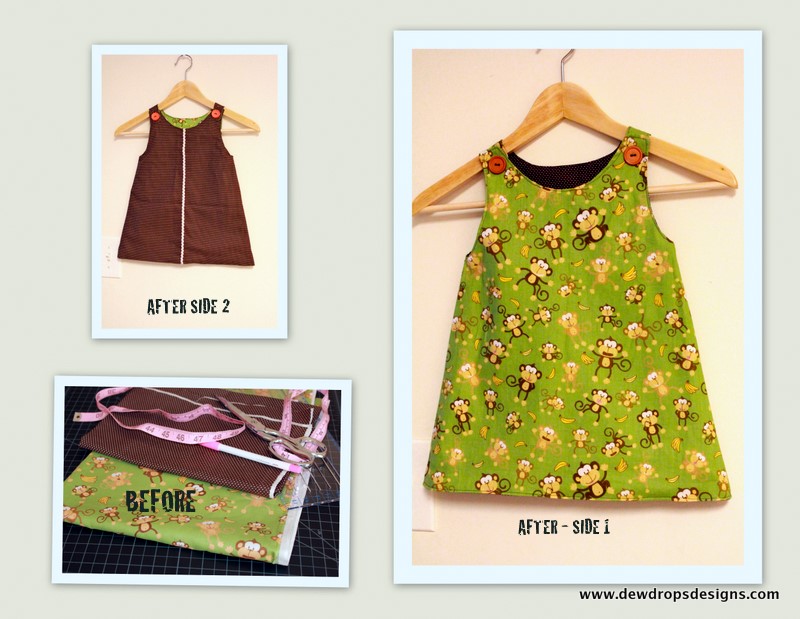
Cut Back and Front piece together using measurements from a loose fitting dress. The length should be X(Your desired length for Jacket) + 1/2"(seam allowance). Now cut the front piece along the middle as you see in picture . The lining piece and the actual fabric should be cut in the same way with same measurements for back and front.

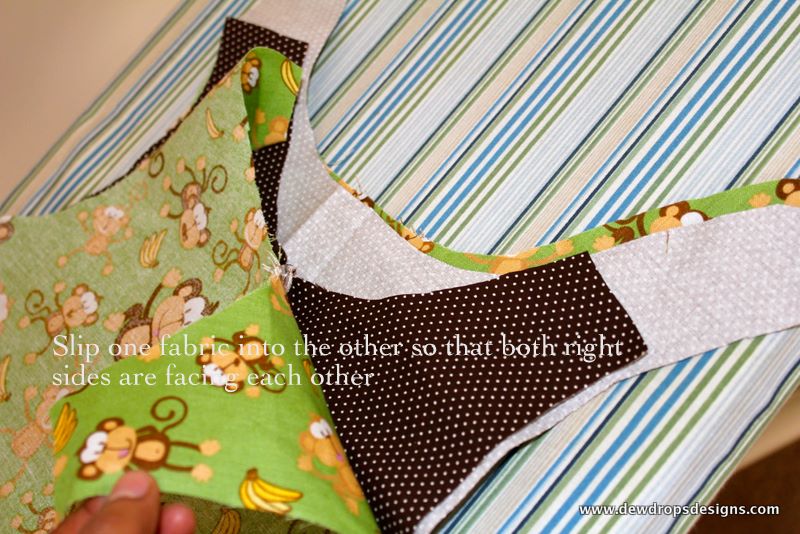
Now attach the 2 front pieces to the back piece with right side facing. Now you have 2 different pieces , one for lining and other actual fabric. Next step is to attach the lining to the actual fabric. With Right side facing as shown in picture sew along the sides and neck opening. Do not sew the shoulder and arm holes together. Now turn the pieces right side out and sew in the shoulder pieces.
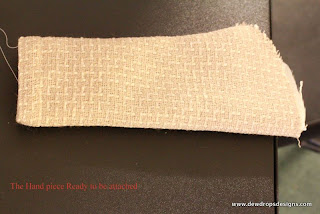
Hands:
Cut 4 pieces ( 2each from lining and actual fabric) For hand.
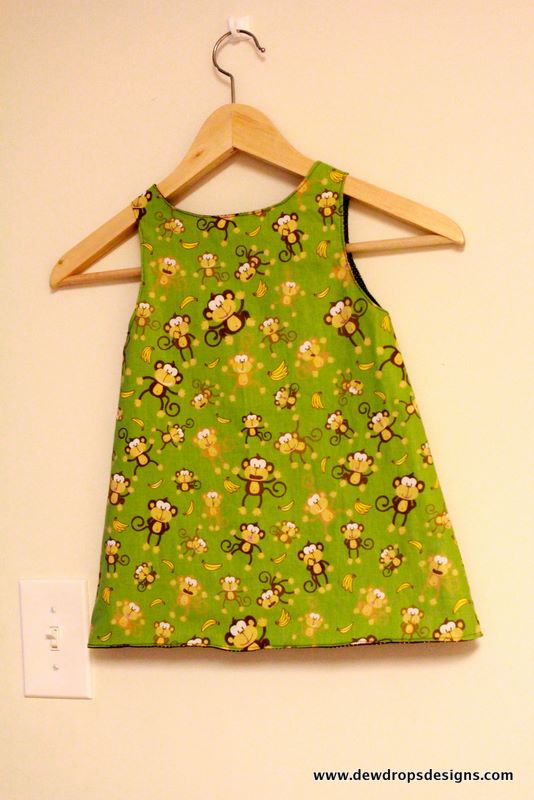
Now with right side facing sew along the bottom part of pieces (lining and actual fabric) together. Now turn it out and sew along the sides. Now you get a piece as shown in picture. Do this for both the arm pieces. Now attach the hands to the already sewn piece.
Next step is to hem the bottom. You can use either blind hem using sewing machine or with hands. I did blind hem with hand sewing.
Now you can add the plackets for front opening and collar. This is similar to the kurta tutorial here
http://www.dewdropsdesigns.com/2011/10/kurta-for-men.html

As this is my first try on jacket with lining It was a kind of learning phase for me too. So it took me a while to get everything in place. But I am happy that I have got some idea into how I can make it better next time.


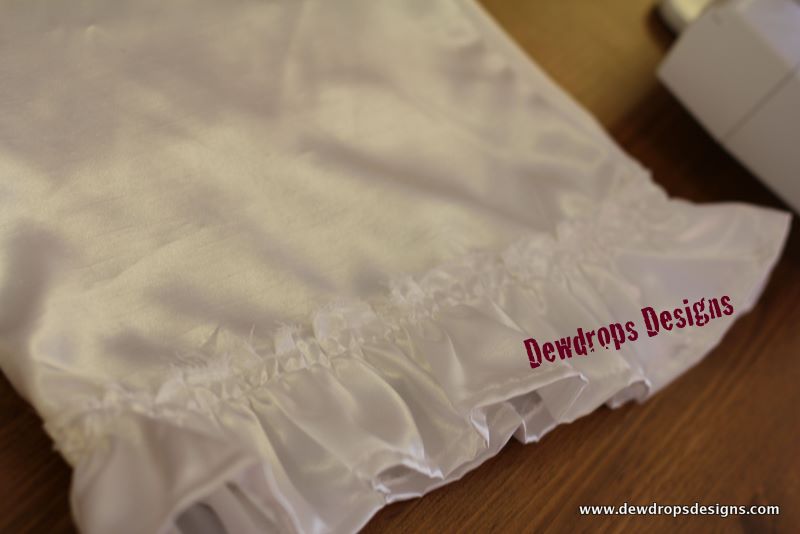
 Zig Zag finish the sides to prevent fraying of the edges


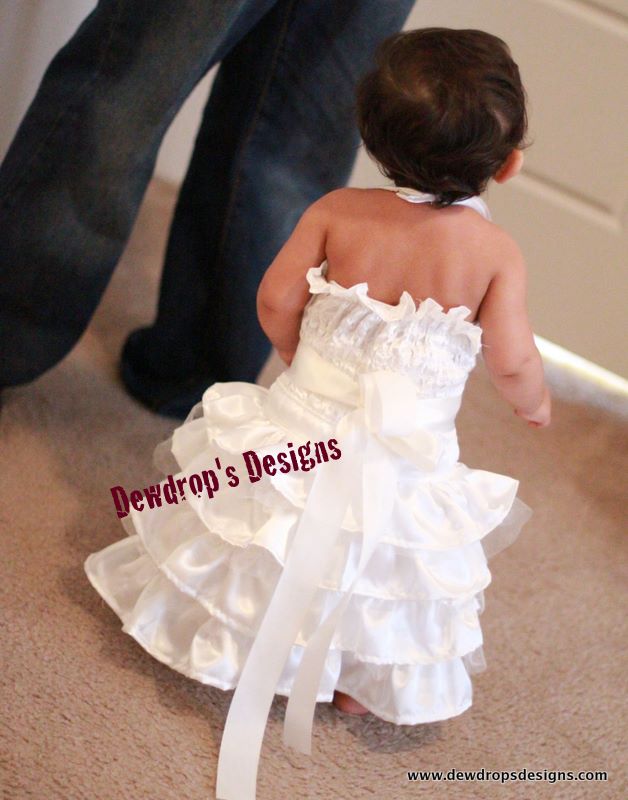
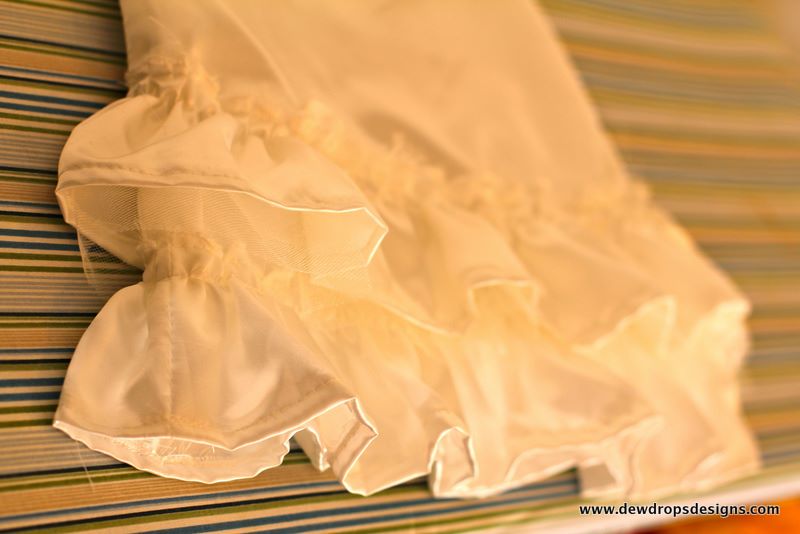 The next layer comes with the satin fabric and tulle ruffled and attached together. The tulle is placed below the satin fabric.
 This dress can just be worn for wedding, baptism, or any other special occasion. If you would like to have custom made for you just visit my online store @